When water finds its way into your home through compromised roof flashing, the damage can escalate quickly from minor leaks to major structural problems. Roof flashing—the thin metal barriers that seal joints and transitions on your roof—serves as your home’s first line of defense against water infiltration. Understanding how to identify, assess, and repair damaged flashing can save you thousands of dollars in water damage and help maintain your roof’s integrity for years to come.
Whether you’re dealing with loose step flashing around your chimney, corroded valley flashing, or damaged boot flashing around pipe penetrations, this guide will equip you with the knowledge for roof flashing repair to protect your home effectively. Here’s what we’ll cover:
- Understanding roof flashing and common problem areas
- 7 step roof flashing repair process
- When to call professional roofers vs DIY repairs
Understanding Roof Flashing and Common Problem Areas
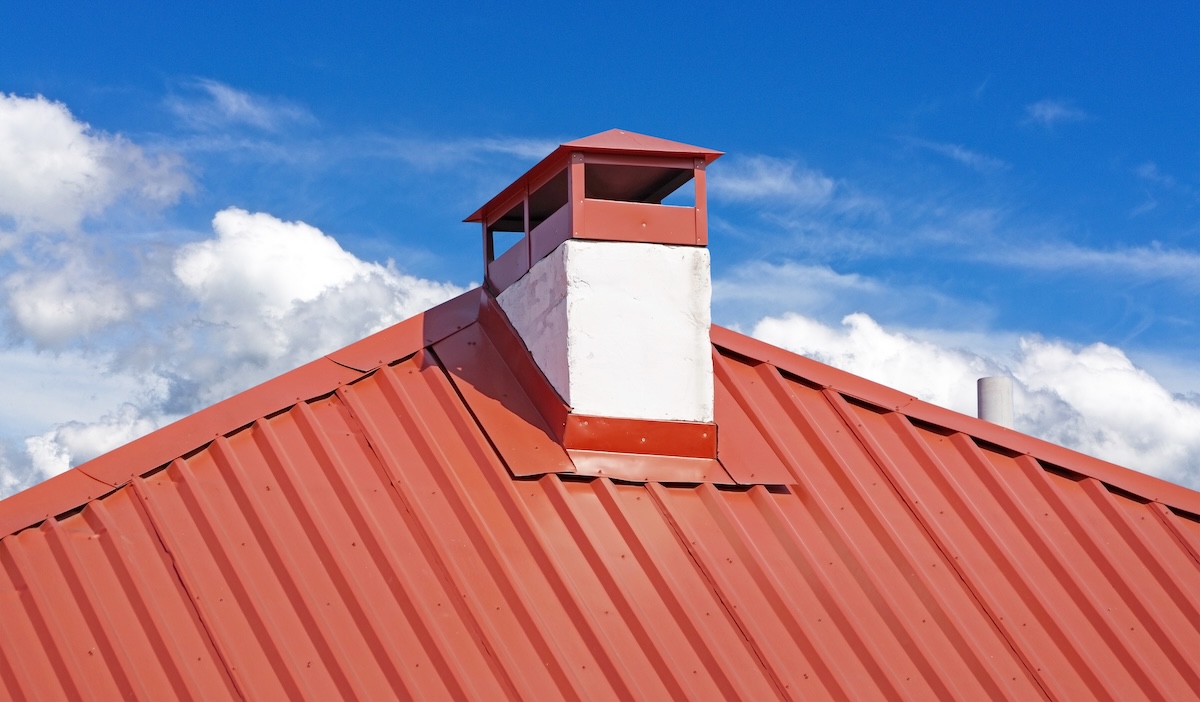
Roof flashing consists of thin sheets of metal—typically aluminum, galvanized steel, or copper—strategically installed at vulnerable roof joints and transitions. These critical components direct water away from seams where different roof planes meet, around chimneys, along valleys, and at pipe penetrations.
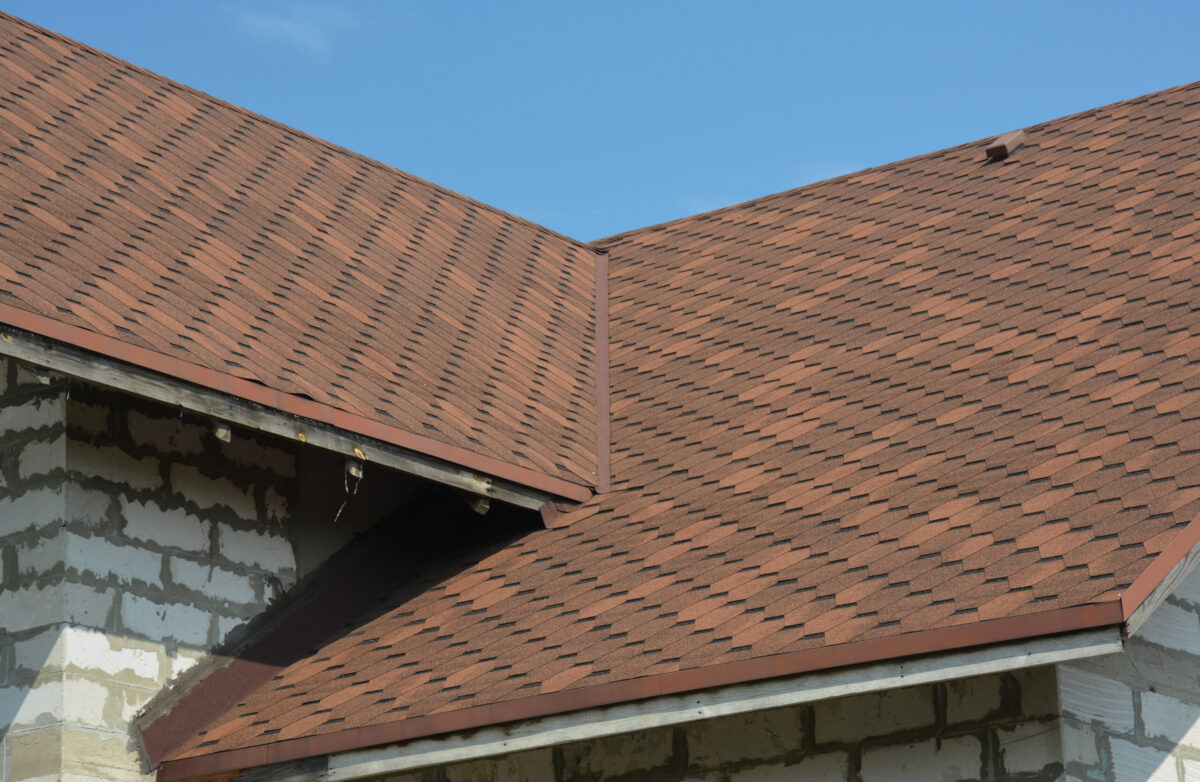
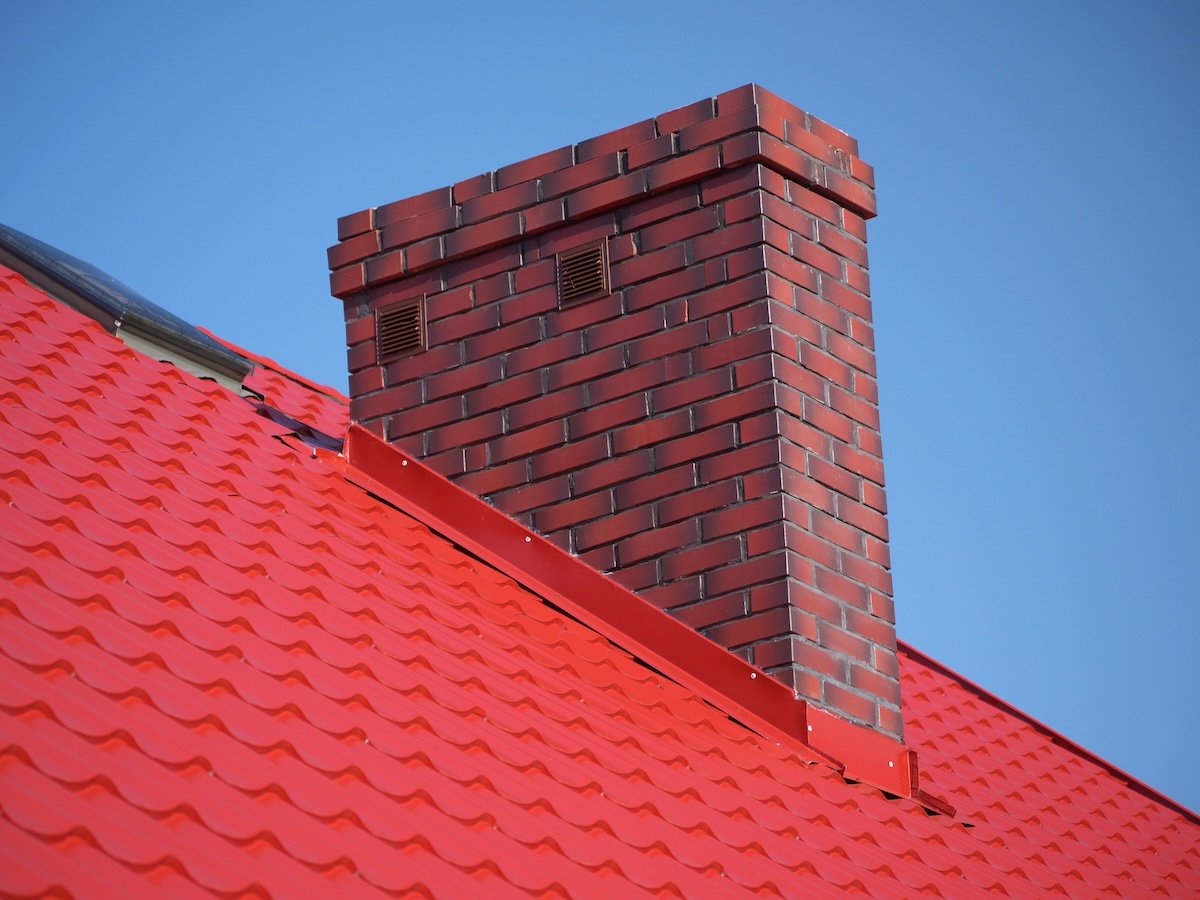
The most common flashing problem areas include step flashing along roof-to-wall intersections, valley flashing where two roof planes converge, chimney flashing around the base and sides of chimneys, and boot flashing surrounding vent pipes and other roof penetrations. Each type faces unique challenges from thermal expansion, weather exposure, and structural movement.
Recognizing Signs That Indicate Flashing Repair Needs
- Internal signs of flashing failure: Water stains on ceilings or walls, often near chimneys, skylights, or roof intersections, appear as brown or yellow patches that grow over time, signaling water leaks.
- External signs to watch for: Rust streaks on metal flashing, loose or lifted edges, missing caulk, vegetation growth in seams, or water dripping/pooling during heavy rain.
- Seasonal impacts: Freeze-thaw cycles and ice dams can loosen fasteners, create gaps, and stress flashing, especially in valleys and roof edges with heavy snow.
7 Step Roof Flashing Repair Process
Proper roof flashing repair is essential to prevent water leaks and protect your home from damage. Following a clear, step-by-step process ensures a durable, long-term solution for your roof’s integrity.
1. Safety Preparation and Assessment
Begin every roof flashing repair with comprehensive safety measures. Inspect your ladder for stability and ensure it extends at least three feet above the roof edge. Check weather conditions—never attempt repairs during wet, windy, or icy conditions that increase slip risks.
Conduct a thorough visual inspection of the damaged flashing area from multiple angles. Document the damage with photos to reference during repair and for a roof insurance claim, if applicable. Identify the flashing type and determine whether surrounding materials require removal for proper access.
2. Remove Damaged Flashing Components
Carefully remove shingles or other roofing materials covering the damaged flashing, working slowly to avoid additional damage to surrounding areas. Use a pry bar to lift fasteners and separate old flashing from the roof deck and adjacent surfaces.
Clean the exposed area thoroughly, removing old sealant, debris, and any rust flakes that could interfere with new flashing adhesion. Inspect the underlying roof deck for damage that might require additional repairs before flashing installation.
3. Measure and Cut Replacement Flashing
Measure the repair area precisely, adding extra material for proper overlap with existing flashing—typically 4-6 inches on each end for step flashing or valley applications. Mark cutting lines clearly on the new flashing material using a permanent marker.
Cut the replacement flashing using sharp tin snips or metal shears, following marked lines carefully to ensure clean, straight edges. File or sand any rough edges that could tear through sealants or damage adjacent materials during installation.
4. Install New Flashing
Position the new flashing carefully, ensuring proper alignment with existing flashing sections and adequate overlap for water-shedding performance. Secure the flashing with appropriate fasteners, typically galvanized roofing nails or screws placed in locations that won’t create water penetration points.
For step flashing repairs, each piece should overlap the previous section and extend at least 2 inches up the vertical wall surface. Valley flashing requires careful positioning to create smooth water flow paths without low spots where debris might accumulate.
5. Apply Sealant and Weatherproofing
Apply high-quality roofing sealant along all flashing edges and joints, creating continuous waterproof barriers. Use a caulk gun for even application and smooth the sealant with a putty knife or finger to eliminate air gaps and ensure proper adhesion.
Pay special attention to areas where new flashing meets existing materials, as these transitions represent potential leak points. Apply sealant generously but avoid excess that could trap water or debris.
6. Reinstall Roofing Materials
Replace any shingles or roofing materials removed during the repair process, ensuring proper alignment and secure fastening. New shingles should overlap flashing edges adequately to direct water away from joints while allowing proper drainage.
Check that all fasteners are driven to appropriate depths—flush with shingle surfaces without over-driving that could create tears or weak points.
7. Final Inspection and Testing
Conduct a thorough visual inspection of the completed repair, checking for proper flashing alignment, secure fastening, and complete sealant coverage. Look for any gaps, loose edges, or areas that might collect water or debris.
Test the repair by applying water with a garden hose, starting at the top of the repaired area and working downward to simulate natural rainfall patterns. Monitor the interior space below for any signs of water penetration during and after testing.
When to Call Professional Roofers vs DIY Repairs
Simple flashing repairs involving small sections of step flashing or minor sealant renewal may be suitable for experienced DIY homeowners with proper safety equipment and roofing knowledge. However, extensive flashing damage, complex chimney flashing systems, and structural repairs typically require the hands of professional roofers.
When to Opt for Professional Roof Flashing Repair
Professional roof flashing repair is essential for multi-level flashing systems, significant roof deck damage, or repairs requiring specialized tools and materials. Licensed contractors can identify underlying issues homeowners might miss and ensure repairs comply with local building codes.
Safety Considerations for Roof Repairs
Professional repairs are safer for steep roofs, high elevations, or when weather limits safe working conditions. Licensed roofers also carry insurance, protecting homeowners from liability in case of accidents during repairs.
Preventing Future Flashing Problems
Regular roof inspections—ideally twice yearly in spring and fall—help identify developing flashing issues before they become major problems.
Inspect for Potential Issues
Look for loose edges, deteriorated sealants, rust formation, and vegetation growth that could indicate drainage problems or material failure.
Maintain Roof Drainage
Keep gutters clean and ensure valley areas remain free of debris to prevent water backup against flashing systems. Trim tree branches that could scrape against flashing during wind events, and remove moss or algae growth to avoid moisture retention.
Upgrade Older Flashing Systems
During major roof maintenance or replacement, consider upgrading to modern flashing materials. Newer systems offer better longevity and weather resistance compared to outdated materials no longer considered best practice.
Secure Your Home with Expert Flashing Repair
Don’t let compromised roof flashing put your home at risk of water damage and costly repairs. Whether you’re dealing with minor sealant issues or extensive flashing system failures, prompt professional attention can prevent small problems from becoming major expenses.
Contact Maumee River Roofing today for a comprehensive roof flashing inspection and repair estimate. Our experienced team will assess your specific needs, explain all available options, and provide transparent pricing for lasting solutions that protect your home’s integrity.