A well-ventilated roof isn’t just a luxury—it’s essential for maintaining the health, comfort, and efficiency of your home. Proper roof vent installation helps regulate attic temperature, prevent moisture buildup, and extend the life of your shingles. Without it, trapped heat and humidity can warp wood, grow mold, and raise energy bills. For homeowners in Noblesville and surrounding areas, understanding how roof vents work and how they’re installed can make a major difference in both comfort and roof longevity. If your attic feels stuffy or your roof shows early wear, it may be time to explore professional roofing services to ensure your ventilation system is up to standard.
Here’s what you’ll learn in this homeowner’s guide:
- Why proper ventilation is crucial for every roofing system
- The most common types of roof vents and their functions
- Step-by-step overview of professional installation
- Signs your home may need better attic ventilation
Why Roof Ventilation Is Essential
Roof ventilation is one of the most overlooked aspects of a roofing system, yet it plays a key role in protecting your home year-round. A properly installed vent system allows cool, fresh air to enter through intake vents (usually at the soffit) and lets warm, moist air escape through exhaust vents at the roof peak or gable. This constant airflow keeps your attic and roof balanced and efficient.
- Improved Energy Efficiency: Proper airflow helps maintain consistent attic temperatures, reducing the strain on your HVAC system and lowering utility costs.
- Extended Roof Lifespan: By minimizing heat buildup, ventilation prevents shingles from curling, cracking, or losing granules prematurely.
- Moisture Prevention: Warm indoor air rising into the attic can cause condensation, leading to mold, rot, and structural damage if not vented out.
- Ice Dam Prevention: In winter, consistent attic temperatures reduce the risk of ice dams forming along roof edges.
- Healthier Indoor Air: Ventilation helps remove excess humidity and pollutants that can affect air quality.
7 Step Roof Vent Installation Process
Whether you’re adding new vents or replacing old ones, professional installation ensures proper placement, sealing, and balance between intake and exhaust systems. Here’s a detailed overview of how roofers approach a safe and effective vent installation.
1. Evaluate Your Attic and Roof Structure
Before installation, a thorough inspection is performed to determine ventilation needs based on attic size, roof pitch, and existing airflow.
What Professionals Look For:
- Hot spots or uneven temperature distribution in the attic
- Signs of moisture, condensation, or mold
- Blocked soffit vents or insulation covering intake areas
- Roof slope and available space for vent placement
This evaluation ensures the ventilation system is balanced and tailored to your home’s specific layout.
2. Choose the Right Type of Roof Vent
Different vents serve different purposes, and the right choice depends on your roof style and airflow needs.
Common Types of Roof Vents:
- Ridge Vents: Installed along the roof peak for continuous airflow; often paired with soffit vents.
- Box Vents (Static Vents): Stationary vents that allow hot air to escape; ideal for smaller roofs.
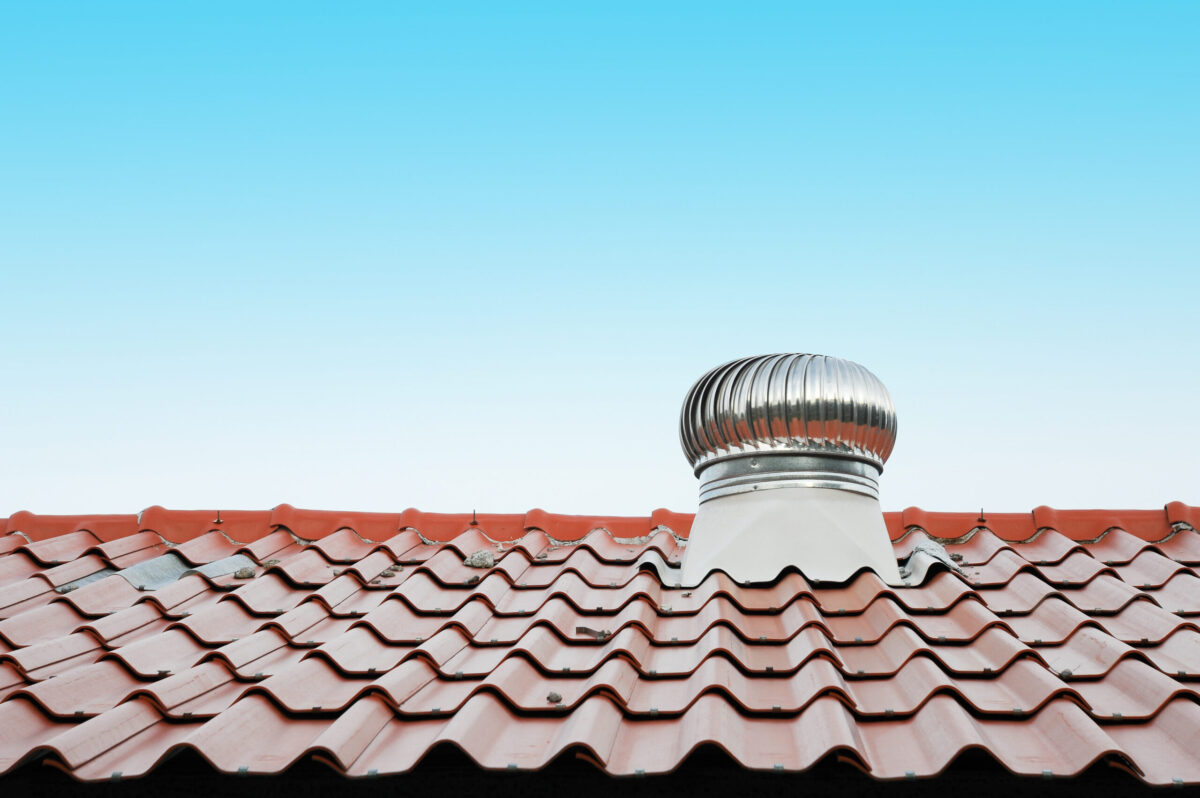
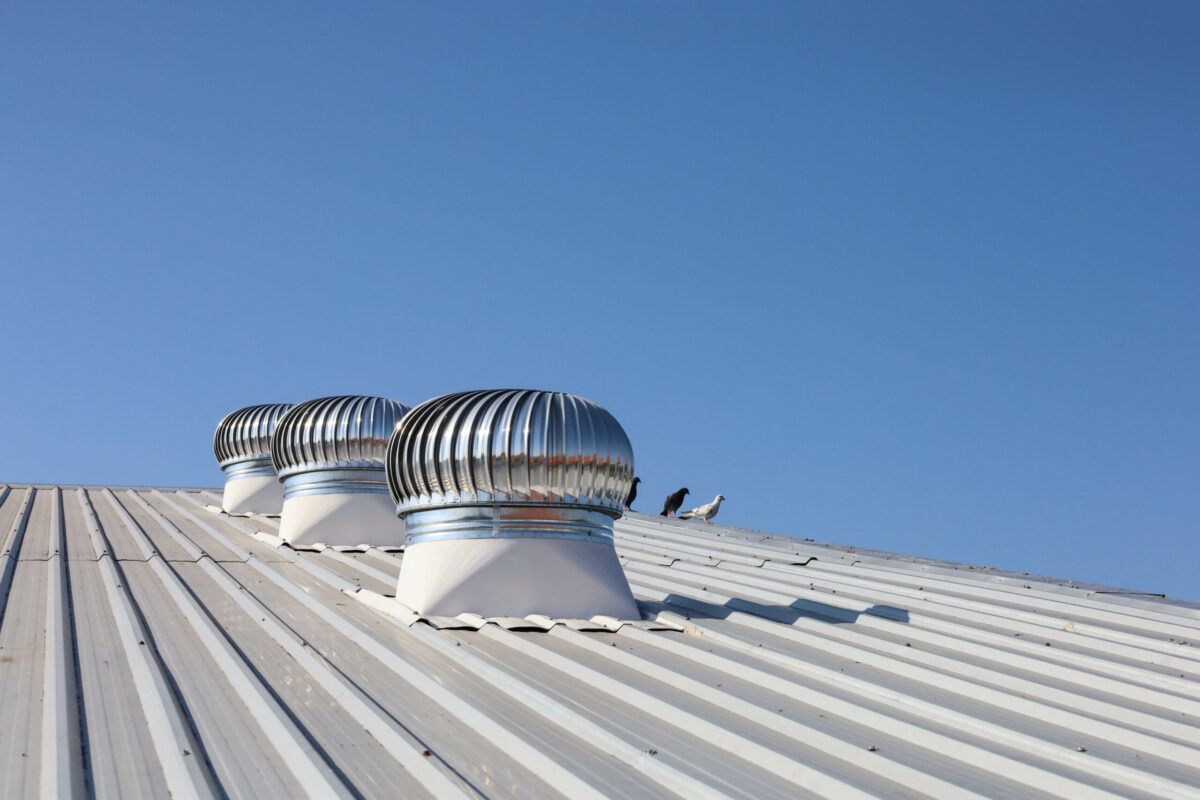
- Turbine Vents: Use wind power to pull air from the attic, effective in high-wind regions.
- Gable Vents: Mounted on exterior walls near the roof peak; add both function and visual appeal.
- Powered Vents: Electrically or solar-powered fans that actively remove hot air.
Each vent type has its own benefits, and professionals may use a combination for optimal airflow.
3. Mark and Measure Vent Locations
Proper vent placement ensures even air circulation across the attic. Roofers calculate spacing based on attic square footage and building code requirements.
Example Calculation:
- The general rule is 1 square foot of ventilation (split evenly between intake and exhaust) for every 300 square feet of attic space.
Marking Steps:
- Identify the best spot near the ridge or gable for exhaust vents.
- Ensure vents are evenly spaced and not obstructed by rafters or wiring.
- Mark precise cutting locations using chalk lines or templates.
4. Cut the Roof Opening
Once locations are marked, professionals carefully cut through the shingles and roof decking to create the vent opening.
Key Steps:
- Lift surrounding shingles without tearing them.
- Use a circular saw or reciprocating saw to cut the hole precisely to vent size.
- Clear debris and check for proper fit before proceeding.
Cutting too large or uneven openings can compromise weatherproofing, which is why this step requires precision.
5. Install the Vent
After the opening is prepared, the vent is positioned and fastened securely to the roof deck. Proper sealing is critical to prevent leaks and wind damage.
Installation Process:
- Slide the upper flange of the vent under surrounding shingles for waterproof overlap.
- Nail the vent base into place following manufacturer specifications.
- Seal all edges with high-quality roofing cement or flashing tape to create a watertight barrier.
When done correctly, the vent integrates seamlessly into the roof system without disrupting shingle alignment.
6. Reinstall or Replace Shingles Around the Vent
The shingles surrounding the vent are reinstalled to ensure full weather protection and a clean finish.
Finishing Touches:
- Cut shingles to fit snugly around the vent’s edges.
- Seal nail heads and exposed areas to prevent moisture intrusion.
- Check for proper overlap to maintain a uniform roof appearance.
Professionals take special care here to match the roof’s pattern and color so the vent installation looks seamless.
7. Test Ventilation and Inspect Work
The final step involves testing airflow to ensure the system is balanced and functioning properly. Roofers also inspect flashing, seals, and interior attic airflow.
Final Inspection Checklist:
- Verify air is flowing freely between intake and exhaust vents.
- Check for any roof leaks or misaligned shingles.
- Ensure the attic temperature matches outdoor air within 10–15 degrees.
This thorough inspection ensures long-term performance and roof protection.
Types of Roof Ventilation Systems
Understanding how different systems work helps you choose the best option for your home. Ventilation relies on both intake and exhaust components working together to create balanced airflow.
Intake Vent Options:
- Soffit Vents: Installed under eaves; provide continuous fresh air entry.
- Drip Edge Vents: Built into the roof edge when soffits are unavailable.
Exhaust Vent Options:
- Ridge Vents: Allow hot air to escape evenly along the peak.
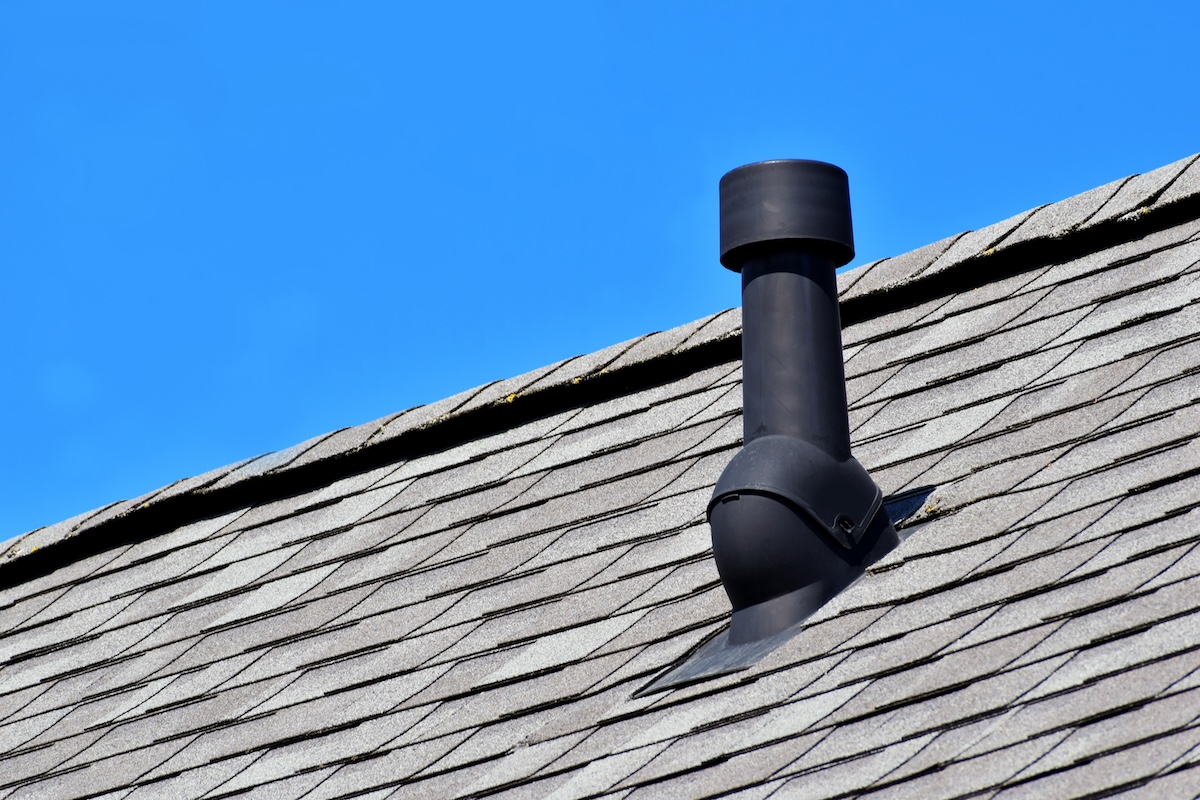
- Box or Dome Vents: Simple, durable exhaust solutions for smaller roofs.
- Powered Fans: Force air out when passive airflow isn’t sufficient.
A well-balanced system typically includes soffit vents for intake and ridge or box vents for exhaust, ensuring consistent airflow across all attic zones.
Signs Your Roof May Need Better Ventilation
Even with a solid roof structure, poor airflow can cause long-term damage. Here are the most common warning signs homeowners in Noblesville and surrounding areas should watch for.
- Excessive Heat in the Attic: If your attic feels significantly warmer than the outdoor temperature, airflow may be restricted.
- Condensation or Frost: Moisture forming on rafters or insulation indicates poor ventilation.
- Shingle Damage: Curling or blistering shingles often result from trapped attic heat.
- High Energy Bills: Inefficient attic airflow forces HVAC systems to work harder.
- Ice Dams in Winter: Warm attic air melting snow unevenly can lead to roof edge ice buildup.
If you notice one or more of these signs, a professional inspection can pinpoint the problem and recommend ventilation upgrades.
Comparing Roof Ventilation Methods
Choosing the right venting system depends on your roof design, budget, and regional climate.
| Vent Type | Pros | Cons | Best For |
| Ridge Vent | Continuous airflow, blends into roofline | Requires ridge installation | Newer or updated roofs |
| Box Vent | Affordable, simple installation | Limited coverage per vent | Small to medium attics |
| Turbine Vent | Uses wind energy, no electricity | Noisy in high winds | Windy regions |
| Powered Vent | Moves air quickly, great for hot attics | Requires energy source | Large attics or low-slope roofs |
| Gable Vent | Aesthetic appeal, good cross-ventilation | Works best with wind flow | Gable-style homes |
A roofing professional can calculate the exact number and type of vents needed to maintain ideal airflow.
Long-Term Maintenance Tips for Roof Vents
Proper maintenance ensures your vents stay functional and free of blockages year-round.
Simple Care Steps:
- Inspect vents at least twice a year for debris or animal nests.
- Clear leaves, twigs, or insulation blocking soffit openings.
- Check seals and flashing after major storms.
- Schedule routine roof inspections to verify airflow and performance.
These small maintenance steps prevent bigger ventilation problems down the road.
Keep Your Roof Breathing and Performing Its Best
Proper roof vent installation is one of the smartest investments you can make for your home’s comfort, efficiency, and durability. A balanced ventilation system reduces heat, prevents moisture buildup, and protects your shingles for years to come.
Whether you’re adding new vents, replacing outdated ones, or upgrading your entire roofing system, it’s best to trust trained professionals to get the job done right. To schedule an inspection or learn more about improving your attic ventilation, contact us today for expert guidance and quality roofing solutions tailored to your home.