A new shingle roof doesn’t just protect your home—it also boosts curb appeal and can increase property value. Whether you’re repairing a section or tackling a full replacement, understanding how to install roof shingles properly is essential for lasting performance. Even small mistakes can lead to leaks, structural damage, and premature wear. Homeowners across Kendallville and surrounding areas often choose to hire professionals for this very reason, but knowing the process gives you confidence when discussing your project. For expert installation that ensures every layer performs correctly, it’s always best to rely on professional roofing services to handle the job safely and efficiently.
Here’s what you’ll learn in this guide:
- The key reasons correct shingle installation matters
- A detailed, step-by-step overview of how shingles are installed
- Important safety and preparation tips
- How to maintain and protect your roof after installation
Why Proper Shingle Installation Matters
A roof is only as strong as the way it’s installed. Even top-rated shingles can fail early if laid incorrectly or if the underlayment isn’t sealed properly. Understanding the basics of installation helps homeowners appreciate what goes into a durable, weather-resistant roof.
- Weather Protection: Properly installed shingles prevent leaks, ice dams, and wind damage.
- Energy Efficiency: Tight installation improves attic insulation performance and reduces heat transfer.
- Long-Term Durability: Correct nail placement, overlapping, and flashing keep water out and prolong roof life.
- Warranty Protection: Many shingle manufacturers require certified installation for warranty coverage.
- Home Value: A professionally installed roof increases resale appeal and buyer confidence.
9 Step Process: How to Install Roof Shingles
Whether you need a quick repair or a complete roof overhaul, every successful project follows a clear, professional process. From inspecting the roof’s current condition to preparing materials, ensuring proper installation, and performing final quality checks, each step plays a vital role in achieving a durable, long-lasting result.
1. Inspect and Prepare the Roof Deck
Before installation begins, the old shingles, nails, and underlayment must be completely removed. The roof deck (usually plywood or OSB) is inspected for rot or damage and repaired as needed.
Preparation Tips:
- Replace any soft or water-damaged decking.
- Sweep or blow away debris to create a clean, flat surface.
- Verify that roof vents, chimneys, and flashing areas are solid and sealed.
A clean, stable deck ensures the shingles adhere properly and prevents sagging over time.
2. Install the Drip Edge
A metal drip edge is nailed along the roof’s eaves and rake edges before underlayment is added. It helps direct water away from the fascia and into the gutters.
Key Benefits:
- Prevents water damage on the fascia and soffit
- Keeps shingles from curling or lifting at the edges
- Gives the roof a finished, straight appearance
3. Apply Roofing Underlayment
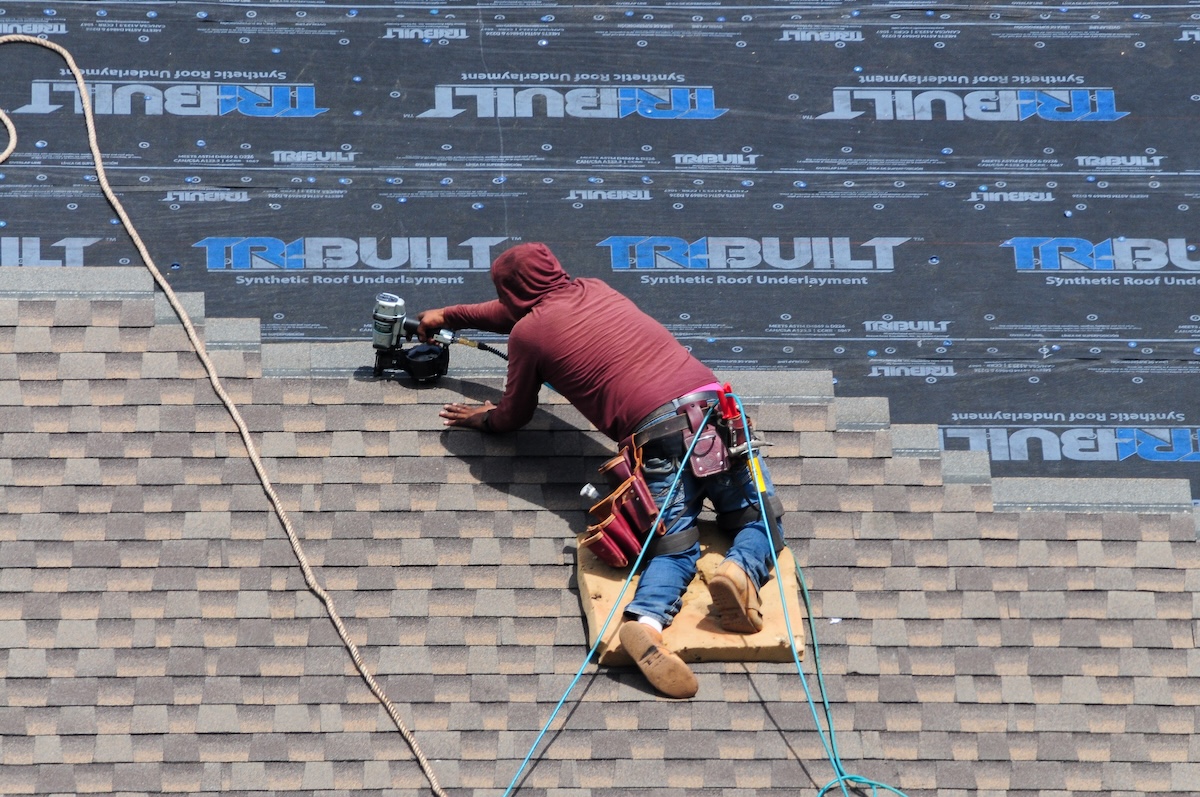
Underlayment serves as a secondary barrier between your roof deck and the shingles. It’s rolled out horizontally, starting from the bottom edge and overlapping each layer by several inches.
Types of Underlayment:
- Felt Paper: Affordable and traditional, but heavier.
- Synthetic Underlayment: Lighter, tear-resistant, and preferred by modern installers.
Underlayment helps prevent leaks from wind-driven rain and ice dams while improving fire resistance.
4. Install the Starter Shingles
Starter shingles are installed along the eaves before the first course of regular shingles. They provide an adhesive edge that seals against wind uplift and helps align the roof layout.
Pro Tips:
- Always stagger the starter strip joints from the main shingle joints.
- Use manufacturer-specific starter strips for best adhesion and warranty coverage.
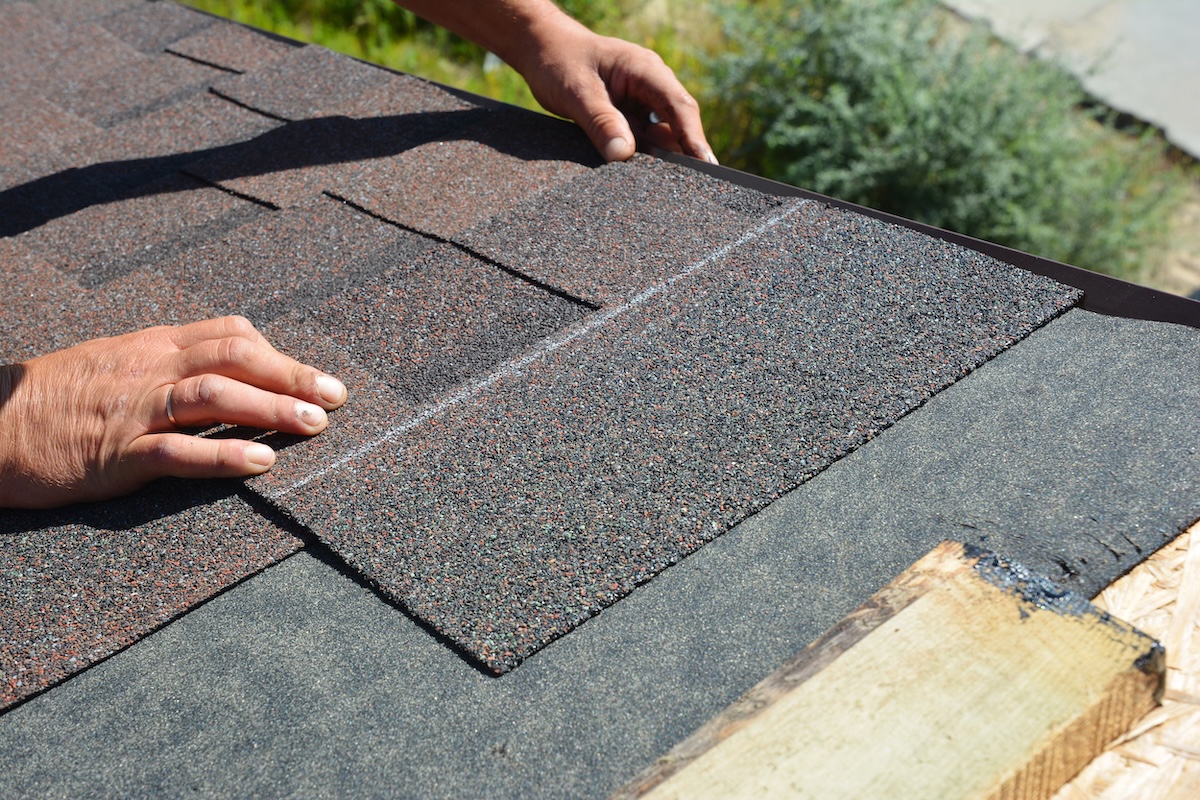
5. Begin Laying the First Course
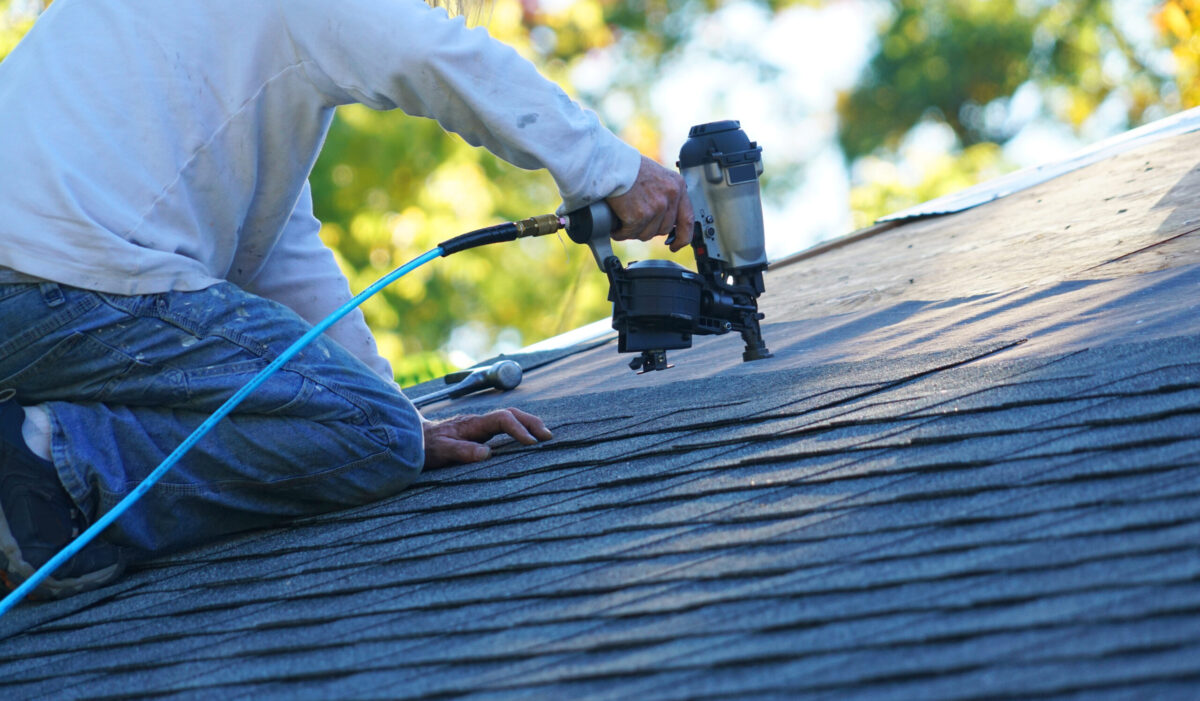
Starting from the bottom edge, the first row of shingles is nailed above the starter strip. Each shingle overlaps the previous one according to the manufacturer’s guidelines.
Nailing Guidelines:
- Use 4 to 6 nails per shingle, depending on roof slope and wind zone.
- Drive nails straight and flush—never angled or overdriven.
- Align shingles in straight horizontal lines to avoid gaps or uneven exposure.
Proper alignment here determines how straight and watertight the entire roof will look and perform.
6. Continue Up the Roof in Overlapping Rows
Each new course overlaps the one below it, ensuring water runs down and off the roof without getting trapped. Installers often use chalk lines to keep rows straight and consistent.
Best Practices:
- Maintain consistent reveal (the visible part of the shingle).
- Offset vertical seams from the row below by at least 6 inches.
- Periodically check alignment across the roof for precision.
This step-by-step layering is what gives shingle roofs their durability and distinct look.
7. Add Flashing Around Valleys, Chimneys, and Roof Penetrations
Flashing protects the most leak-prone areas of the roof. It’s typically made of galvanized steel or aluminum and installed at intersections, valleys, and around vents or skylights.
Flashing Types:
- Valley Flashing: Directs water through roof valleys.
- Step Flashing: Used where the roof meets walls or dormers.
- Counter Flashing: Seals chimneys and vertical structures.
Proper flashing ensures that water flows where it should—off the roof and into the gutters.
8. Install Ridge Caps and Ventilation
Once all shingles are in place, ridge caps are installed at the roof’s peak. These specially shaped shingles overlap to protect the ridge line while allowing ventilation beneath.
Why This Step Matters:
- Ridge vents help expel heat and moisture from the attic.
- Proper ventilation reduces energy bills and prevents mold.
- Ridge caps give the roof a finished, uniform appearance.
9. Final Inspection and Clean-Up
Before wrapping up, professionals perform a full inspection to ensure no nails are exposed, shingles are sealed properly, and flashing is watertight. All debris, nails, and packaging are removed from the site.
Inspection Checklist:
- Verify alignment and nail placement
- Confirm all vents and flashing are sealed
- Clean gutters and downspouts
- Review the work area for safety and completeness
A clean jobsite reflects professional workmanship and protects your property from damage.
Tools and Materials You’ll Need
Installing shingles requires proper tools, safety gear, and high-quality materials. Even if you’re not doing the job yourself, understanding the essentials helps you evaluate your contractor’s process.
Basic Tools:
- Roofing hammer or nail gun
- Chalk line
- Utility knife
- Roofing shovel or pry bar
- Safety harness and roof brackets
Essential Materials:
- Asphalt or architectural shingles
- Underlayment (synthetic or felt)
- Roofing nails
- Flashing and drip edge
- Ridge cap shingles and ventilation components
Safety Equipment:
- Non-slip boots
- Gloves and eye protection
- Ladder stabilizers
- Roof harness system
Working on a roof involves significant risk. Professional installers use safety systems and proper footwear to prevent slips or falls—something homeowners should never underestimate.
Professional vs. DIY Shingle Installation
Some homeowners in Kendallville and surrounding areas attempt to install shingles themselves to save money, but roofing is one of the most complex and hazardous exterior projects.
DIY Advantages:
- Lower upfront labor cost
- Personal satisfaction from hands-on work
DIY Disadvantages:
- High risk of injury without proper training
- Voided manufacturer warranties
- Improper installation leading to leaks or structural damage
Professional Advantages:
- Expert installation that meets local building codes
- Access to better materials and warranties
- Enhanced safety and efficiency
- Long-term cost savings through proper workmanship
Hiring experienced roofers ensures your investment lasts and your home remains protected for decades.
Maintaining Your Roof After Installation
Even a perfectly installed roof needs occasional maintenance to stay in top shape. Preventive care extends lifespan, maintains curb appeal, and minimizes repair costs.
Maintenance Tips:
- Inspect twice a year: Check for missing shingles, debris, or lifted flashing.
- Clean gutters regularly: Blocked gutters cause water backup and roof edge damage.
- Trim nearby branches: Prevents shingle abrasion and moss growth.
- Address issues early: Fix small leaks or missing shingles before they worsen.
- Schedule professional inspections: Annual checkups catch unseen problems before they become costly repairs.
By following these simple steps, homeowners can maximize the value of their roofing investment and prevent premature wear.
Ready to Upgrade or Replace Your Roof?
Installing shingles the right way protects your home, enhances energy efficiency, and ensures long-term performance. Whether you’re starting a new roofing project or replacing an old system, partnering with experts guarantees lasting results. For reliable installation and honest advice on the best materials for your home, contact us today to schedule your roofing consultation.