A roof leak is one of those home issues that can start small but lead to major headaches if ignored. The tricky part? Water doesn’t always travel in a straight line—it can enter your roof in one spot and show up as a stain somewhere else entirely. Learning how to find a roof leak can save you time, money, and prevent damage to your home’s structure and insulation before things get worse.
Homeowners in Noblesville and surrounding areas know that with our Midwest weather, staying proactive is key. Whether it’s heavy rain, snowmelt, or summer humidity, moisture can find its way into even the smallest gaps. If you’re already concerned about your roof’s condition, you can explore trusted repair and replacement options through our roofing services to ensure long-term protection.
Here’s what you’ll learn in this guide:
- Why spotting a roof leak early matters for your home’s safety and savings
- Step-by-step methods for locating leaks both inside and outside
- Common trouble spots where leaks often begin
- Practical prevention tips and when to call a professional roofer
Why Finding Roof Leaks Quickly Matters

A leak may seem like a small nuisance at first, but it can cause significant structural and health problems if left unchecked. Understanding the risks helps homeowners act quickly and wisely.
- Protects structural integrity: Persistent leaks can lead to rot in rafters, decking, and ceilings, weakening your home’s frame.
- Prevents costly damage: Early leak detection can save thousands in future repairs, especially if moisture seeps into insulation or drywall.
- Stops mold growth: Even a slow drip can create humid pockets where mold and mildew thrive, affecting air quality.
- Preserves insulation efficiency: Wet insulation loses its ability to regulate temperature, leading to higher energy bills.
- Maintains home value: A dry, well-maintained roof reassures potential buyers and keeps your home in peak condition.
In short, the sooner you locate a leak, the better your chances of avoiding expensive restoration work. Next, let’s explore how to pinpoint the source from both the inside and outside of your home.
5 Steps to Find a Roof Leak From the Inside
When you first notice signs of water damage, your instinct might be to check the roof surface—but many leaks are easier to locate from within. The attic and ceiling can tell you a lot about where the problem starts.
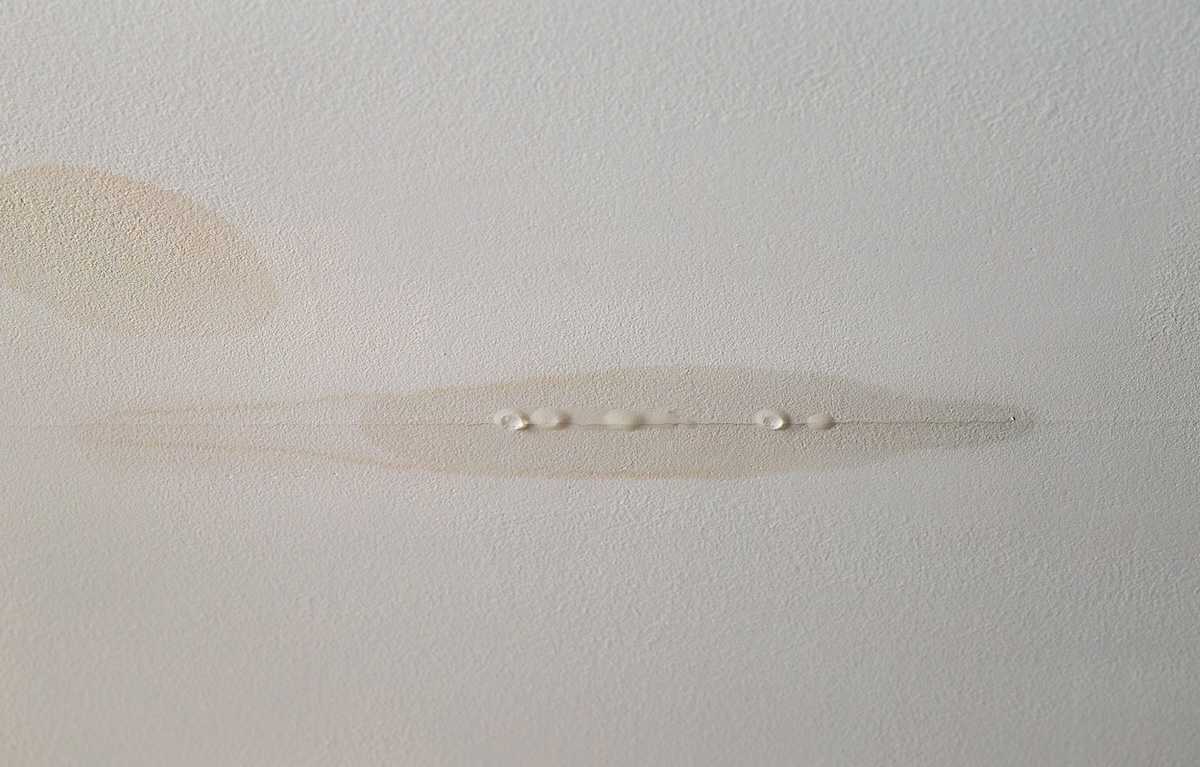
1. Inspect the Ceiling for Water Marks
The first step is often visual. Water stains, bubbling paint, or discolored patches on ceilings or upper walls are telltale signs that moisture is entering.
What to look for:
- Brown or yellow stains forming in irregular shapes
- Soft, sagging drywall
- Peeling paint or bubbling plaster
If you can, measure the distance of the stain from nearby walls or vents—this helps when tracing the leak from above in the attic.
2. Check the Attic During or After Rain
Climb into your attic with a flashlight during a steady rainfall. Bring a small bucket or towel to manage any dripping water.
Steps to follow:
- Start near the area of ceiling discoloration.
- Follow rafters upward—water usually runs down the framing before dripping off.
- Look for wet spots on insulation, dark wood patches, or mold growth.
If the roof is dry, you can use a hose to simulate rainfall while another person stays in the attic to look for leaks.
3. Trace the Water’s Path
Once you find moisture, trace it upward to determine where it’s entering. Roof water can travel along beams or wiring before becoming visible inside.
Tip: Mark the wet areas with chalk or tape. This helps you match the spot when inspecting from the exterior later.
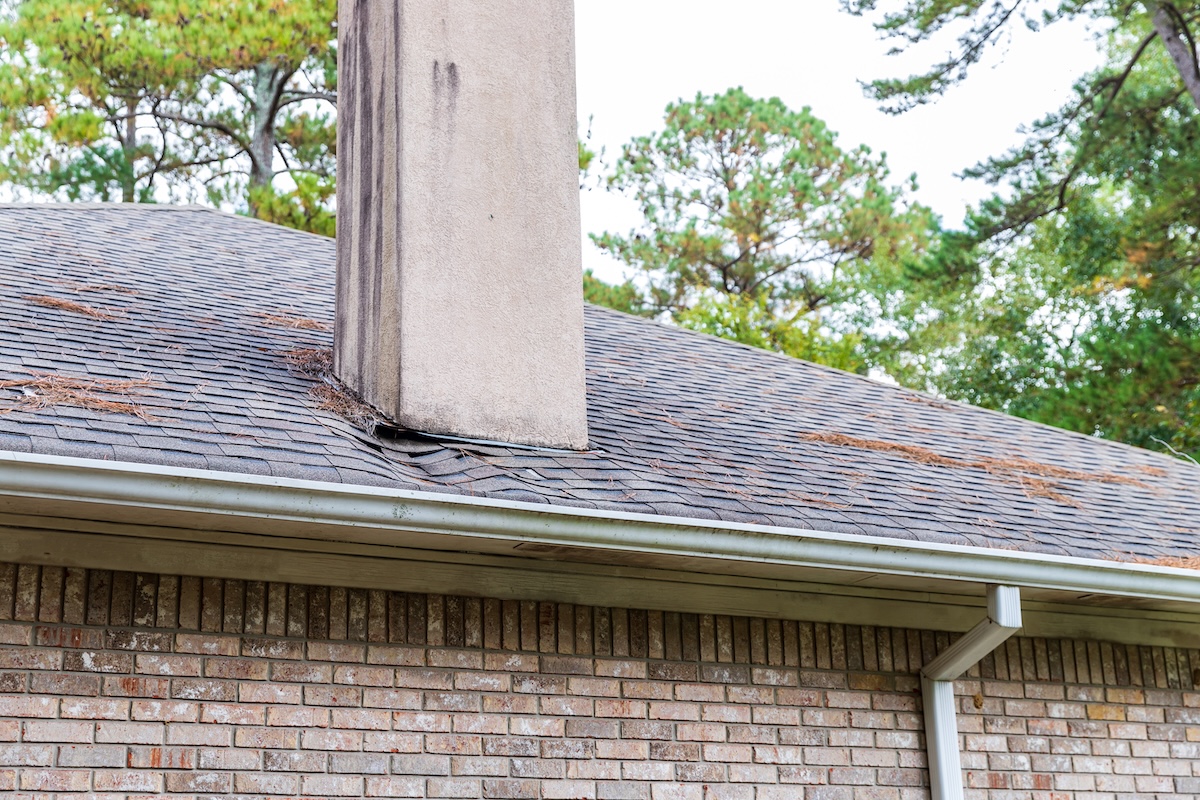
4. Inspect Vent Pipes and Chimneys
Leaks often begin around penetrations—anything that breaks through the roof surface. From inside, look for gaps, corrosion, or condensation near these features:
- Plumbing vent pipes
- Chimney flues
- Exhaust fans or HVAC vents
- Skylight shafts
Moisture in these areas usually points to damaged flashing or cracked sealant.
5. Use a Moisture Meter
If you’re struggling to pinpoint the exact entry point, a moisture meter can help locate hidden damp spots behind insulation or drywall. These tools detect moisture levels in materials and can confirm whether a leak is ongoing or old.
Finding the general location from inside gives you a solid starting point—but confirming the problem from outside completes the picture.
How to Find a Roof Leak From the Outside
Exterior inspections can reveal visible signs of damage that allow water inside. For safety, only inspect your roof if conditions are dry and stable. If not, perform a visual check from the ground using binoculars or hire a professional.
1. Start with the Roof’s Highest Point
Water flows downward, so the source is typically higher than the visible stain inside. Begin your inspection near ridgelines and work your way down.
Check for:
- Missing or cracked shingles
- Curled or warped edges
- Gaps between rows of shingles
In areas like Noblesville and surrounding communities, heavy seasonal weather can accelerate shingle wear, so it’s crucial to monitor aging roofs.
2. Examine Flashing and Sealants
Flashing seals the joints around chimneys, skylights, and vents. When flashing bends, rusts, or lifts, water can slip beneath.
Look closely for:
- Cracked caulk or dried-out sealant
- Loose metal flashing around joints
- Rust streaks or corrosion marks
Replacing damaged flashing quickly can often stop leaks before they worsen.
3. Check Roof Valleys and Low Spots
Valleys (where two roof slopes meet) handle large amounts of runoff, making them prone to leaks.
Inspect for:
- Exposed underlayment
- Loose or broken shingles
- Debris buildup blocking water flow
If you see granule loss or sagging shingles, it could signal underlying water infiltration.
4. Inspect Gutters and Downspouts
Poor drainage can cause water to back up under shingles instead of running off.
Gutter warning signs:
- Clogged channels filled with leaves or granules
- Loose or sagging sections
- Overflow marks or mildew along fascia boards
Cleaning and re-securing gutters is a simple but effective leak-prevention step.
5. Review Flashing Around Roof Penetrations
Double-check all roof openings, including satellite mounts, solar panels, and pipe boots. These are common leak entry points.
Common problems include:
- Cracked rubber boots around vents
- Loose nails or screws in metal fittings
- Improperly sealed bracket mounts
If any appear worn or damaged, resealing or replacing them can prevent further water intrusion.
Common Leak Sources Most Homeowners Overlook
Even careful inspections can miss subtle leak origins. Below are a few lesser-known trouble areas that homeowners in Noblesville and surrounding areas often overlook.
- Skylight flashing: The rubber or metal seals can shrink or corrode with time, creating invisible gaps.
- Roof vents: Older vents may warp or rust, allowing rain to slip through the seams.
- Dormer walls: Improper flashing where dormers meet the main roof plane can funnel water inward.
- Step flashing: Found where the roof meets vertical walls, step flashing can shift due to house settling.
- Underlayment tears: If your underlayment (the waterproof layer beneath shingles) is torn or improperly installed, leaks can occur even if shingles appear intact.
Preventing Future Roof Leaks
Once you locate and repair a leak, it’s important to take steps that prevent new ones from forming. Roof maintenance is much more affordable than water damage repair.
- Schedule Routine Inspections: Have your roof professionally inspected at least once per year, ideally before heavy rain or snow seasons.
- Professional inspections can:
- Identify minor problems early
- Extend your roof’s lifespan
- Keep warranties valid
- Professional inspections can:
- Clean Gutters and Downspouts Regularly: Blocked gutters can cause water to backflow into your roof system. Cleaning them at least twice a year prevents unnecessary strain.
- Replace Damaged or Missing Shingles: A single missing shingle can create a leak path. Replacing damaged ones right away prevents moisture from reaching the underlayment or wood decking.
- Ensure Proper Ventilation and Insulation: Good airflow in your attic helps regulate temperature and humidity, preventing condensation and reducing stress on roofing materials.
- Trim Overhanging Branches: Branches scraping or resting on your roof can damage shingles and trap moisture. Keeping trees trimmed back helps your roof dry faster after storms.
When to Call a Professional Roofer
Sometimes, leaks can be stubborn or dangerous to inspect without the right tools. If you’ve tried finding the source but can’t confirm it—or if climbing the roof isn’t safe—it’s best to bring in certified roofing professionals.
Professional roofers can:
- Use thermal imaging to locate hidden leaks
- Perform safe, thorough inspections at any roof height
- Identify structural issues unseen from ground level
- Provide lasting repairs that match your roofing system’s warranty
In many cases, what looks like a small stain may reveal more serious underlying damage. Getting expert help ensures you repair the root cause instead of the symptom.
Protect Your Home from Roof Leaks Year-Round
Roof leaks can happen to anyone, but the right approach can turn a potential disaster into a manageable repair. Knowing how to spot warning signs, perform safe inspections, and maintain your roofing system keeps your home dry and secure through every season.
If you’re unsure where your leak is coming from or want professional help diagnosing the issue, Maumee River Roofing is here for you. We’ve helped homeowners throughout Noblesville and surrounding areas handle leaks efficiently, extending the life of their roofing systems and preventing future issues.
Don’t wait until the next rainstorm to take action—contact us today for a free assessment and dependable roofing solutions from Maumee River Roofing.