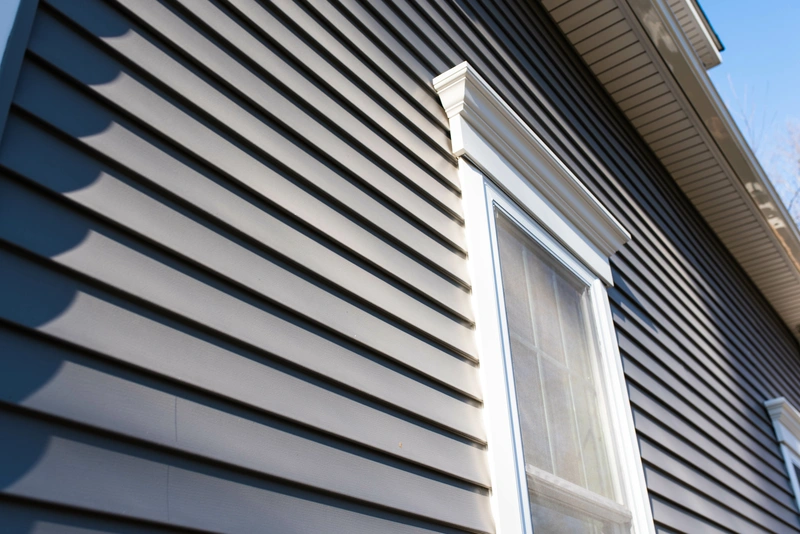
Vinyl siding has long been a popular choice for homeowners due to its durability, low maintenance, and affordability. But as trends evolve, you might find yourself wondering—can you paint vinyl siding to refresh its look without replacing it entirely?
The good news is that you can paint vinyl siding, and in many cases it’s a good alternative to replacement. Still, it’s not the right fit for every home, and the results depend heavily on the prep work and products you use. Let’s take a closer look at the benefits, drawbacks, costs, and what it takes to get a professional-looking finish.
- Why paint vinyl siding? Understanding the benefits of painting vs. replacing
- # Steps to paint vinyl siding like a pro A detailed step-by-step guide
- Tips for long-lasting results
🤔 Why Paint Vinyl Siding?
Painting vinyl siding is a smart and budget-friendly way to give your home a fresh, updated look. For homeowners looking to enhance curb appeal without the high cost of replacing siding, painting offers a cost-effective solution. Replacing siding can be an expensive endeavor, especially for larger homes, but a high-quality paint job provides a like-new appearance for a fraction of the cost. Not only does this save money, but it also allows homeowners to invest in other renovation projects without overstretching their budget.
Beyond the economic benefits, painting vinyl siding has other advantages. It’s an environmentally friendly choice, as it eliminates the need to discard old siding, which often ends up in landfills. Instead of creating unnecessary waste, painting refreshes your home’s exterior while being kinder to the planet. Plus, it offers the opportunity to customize your home’s look. Whether your current siding color feels outdated or doesn’t reflect your personal style, painting opens up endless possibilities to explore new shades and give your home a unique, personalized aesthetic.
The Pros: Advantages of Painting Vinyl Siding
Lower Cost Than Replacement
One of the biggest reasons homeowners choose to paint instead of replace siding is cost. Painting typically runs 30–40% of the price of replacement, saving thousands of dollars while still dramatically improving curb appeal.
Unlimited Color Choices
Manufacturers typically limit siding options to a couple dozen colors. With paint, the palette expands to thousands of shades. Whether you want a subtle refresh or a bold new look, painting gives you full creative control.
Environmentally Friendly
Tearing off old siding contributes significantly to landfill waste. If your siding is structurally sound, painting it instead of replacing helps reduce construction waste, making this a greener option.
The Cons: Drawbacks of Painting Vinyl Siding
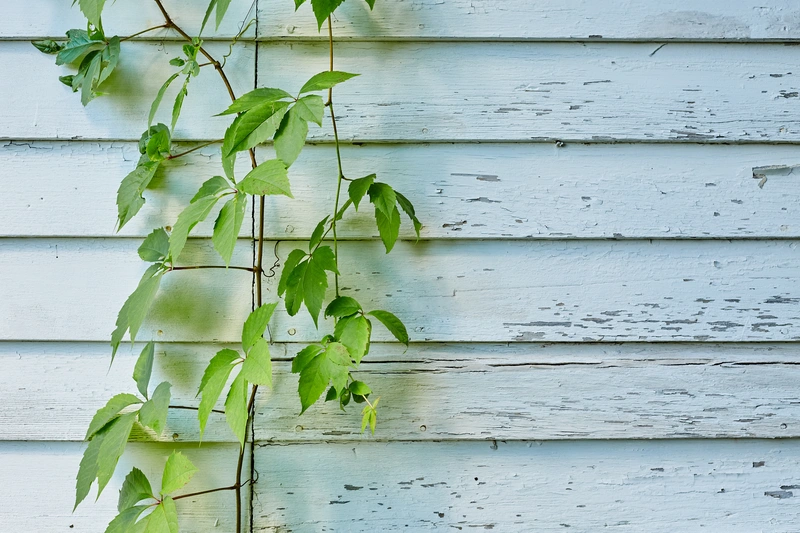
Risk of Peeling and Fading
Paint failure usually comes down to poor preparation or low-quality paint. If oxidation isn’t removed or the wrong products are used, peeling can occur. Likewise, cheaper paints are more prone to fading. Using a premium, vinyl-safe acrylic paint and preparing the surface thoroughly makes a huge difference.
Maintenance Over Time
Painted siding won’t last forever. While it holds color well, it will eventually need to be repainted. Fortunately, with quality products and correct application, the maintenance cycle is often not much more demanding than siding replacement.
Not Right for Damaged Siding
Painting can’t fix cracked, warped, or brittle panels. If the siding is already failing, replacement is the smarter investment.
Choosing the Right Paint and Products
-
Type of Paint: 100% acrylic exterior paint, ideally labeled as vinyl-safe if you plan to go darker
-
Recommended Brands: Sherwin-Williams, Benjamin Moore, Behr, and PPG all make high-performing options
-
Why It Matters: The wrong paint can lead to warping, fading, or premature failure. Premium products ensure the best long-term results
What You Need to Know Before You Start
Before you grab a paintbrush, it’s important to assess if your vinyl siding is ready for transformation. Here are three critical factors to consider:
- Inspect your siding for cracks or warping, and repair any damage before painting for the best results.
- Use paint designed for flexible surfaces to account for vinyl siding’s expansion and contraction with weather changes.
- Choose a high-quality, exterior-grade acrylic paint in lighter colors to prevent heat absorption and warping.
✅ 7 Steps to Paint Vinyl Siding Like a Pro
Refreshing your vinyl siding is easier than you might think! Follow these steps for a professional finish:
1. Clean the Siding
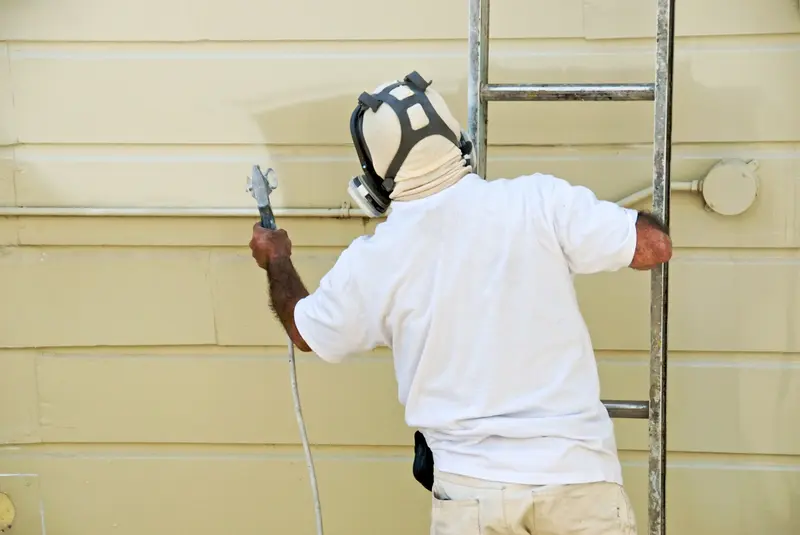
The first and most important step to a successful siding paint job is thoroughly cleaning the surface. Dirt, mildew, and debris can prevent paint from adhering properly and lead to uneven or peeling results later on. Start by mixing water with a mild detergent in a bucket, then use a soft-bristle brush to scrub away any grime or buildup on the siding. Be sure to pay extra attention to corners, edges, and areas where dirt tends to accumulate. For larger surfaces or hard-to-reach areas, consider using a power washer to speed up the process.
However, be cautious with the pressure to avoid damaging the siding. Once the surface is fully cleaned, inspect it carefully for any remaining residue. Rinsing thoroughly is key—leftover soap or dirt can compromise the finish. Allow the siding to dry completely before moving on to the next step, as painting over damp surfaces can cause uneven application and poor adhesion. Taking the time to properly clean your siding ensures the paint job will last longer and look more professional.
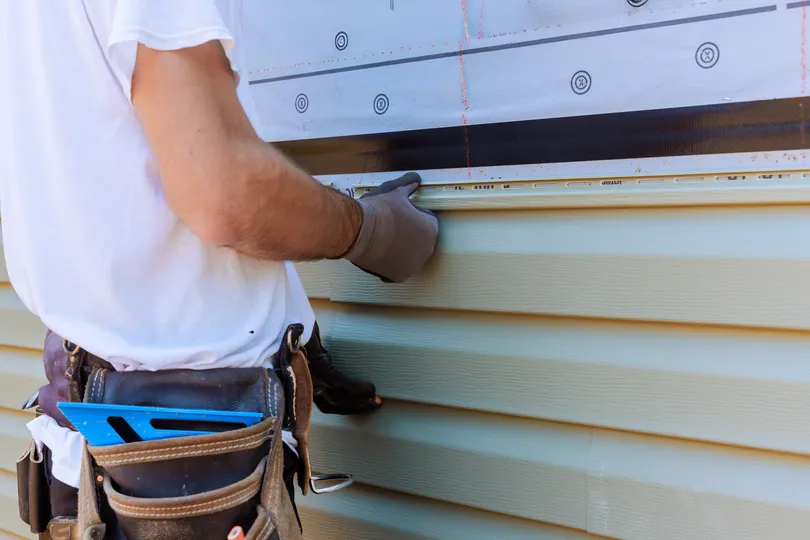
2. Make Repairs
With the siding clean and ready to inspect, take a closer look at its condition. Examine every inch for signs of damage, such as cracks, holes, or warped panels. Even small imperfections can affect the final result of your paint job, so it’s essential to address them before moving forward.
For minor cracks or holes, use an exterior-grade caulk to fill them in. Be sure to smooth the caulk with your finger or a tool for a seamless appearance, and allow it to fully cure according to the manufacturer’s instructions. For more significant issues, such as severely damaged or warped sections, you may need to replace individual panels. This step can take some time, but it’s worth the effort to ensure your siding is structurally sound and able to hold up against the elements.
Proper repairs not only improve the overall aesthetics of your paint job but also help protect your home from moisture, pests, and other potential problems. Skipping this step could result in costly fixes down the road, so take the time to do it right.
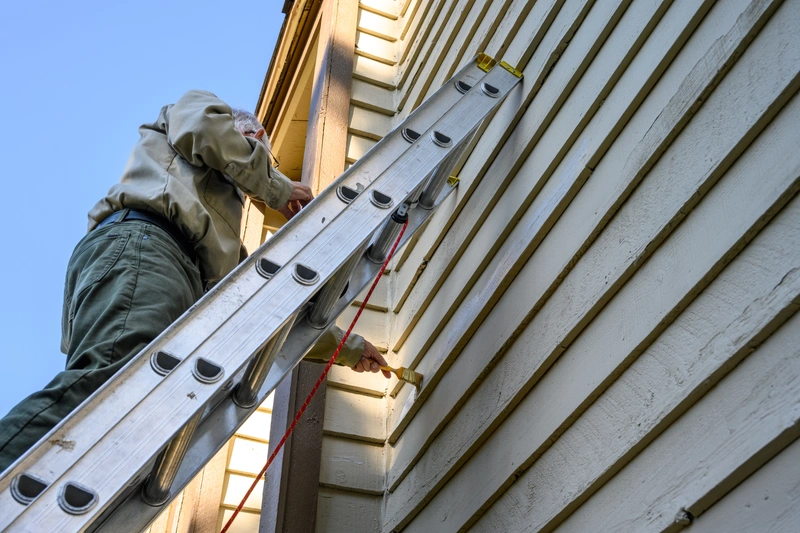
3. Tape and Cover
Before you even think about opening a can of paint, it’s crucial to prepare your surroundings. Protecting areas you don’t want painted ensures a clean, polished finish and saves you from time-consuming cleanup later. Use high-quality painter’s tape to carefully mask off window frames, door trim, and any other areas you want to keep paint-free.
Take your time to press the tape down securely to prevent paint from seeping underneath. Next, cover plants, pathways, and any other surfaces nearby with drop cloths or plastic sheeting. If you have outdoor fixtures like lights or mailboxes, wrap them as well. These precautions may seem tedious, but they make a huge difference in the final result.
Proper preparation not only keeps your work area neat but also helps you focus on painting without worrying about accidental splatters or drips.
4. Apply Primer (Optional)
In some cases, applying a primer is a step you shouldn’t skip. If your siding has never been painted before or if you’re switching to a dramatically different color, primer can significantly improve the outcome. A good primer helps the paint adhere better to the surface and ensures even color coverage, especially on older or untreated siding.
Look for a primer specifically designed for the type of siding you have, whether it’s vinyl, wood, or another material. Applying primer may take extra time, but it’s an investment in the durability and longevity of your paint job. Use a brush, roller, or sprayer to apply the primer in thin, even coats, following the product’s instructions.
Allow it to dry completely before moving on to the paint. While primer is optional, especially if you’re painting over a similar color, it can make a big difference in achieving a professional, vibrant finish.
5. Choose Your Application Method
Choosing the right application method is crucial for achieving the best results. The two most common tools for painting siding are a paint sprayer and a roller, each with its own set of advantages. A paint sprayer is ideal for covering large surfaces quickly and provides a smooth, even finish.
However, sprayers can be challenging to control in small or tight areas, so they may not be the best choice for intricate details. On the other hand, rollers are perfect for smaller areas and precise work. They’re also easier to use for touch-ups. If you’re using a roller, opt for one with a long handle to reach higher areas without a ladder.
Whichever method you choose, make sure you have the right tools and practice your technique before starting. Doing a test run on a spare piece of siding or an inconspicuous area can help you avoid mistakes and ensure your application is consistent.
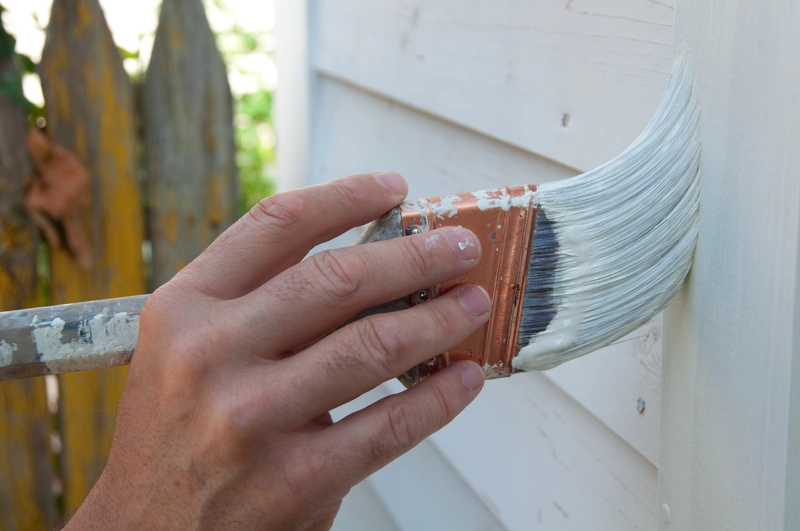
6. Paint with Care
Now comes the rewarding part—painting! After choosing your paint color, start by applying thin, even coats rather than trying to cover everything in one thick layer. This approach ensures a smoother finish and reduces the risk of drips or uneven coverage.
Check the paint can for drying time recommendations and allow each coat to dry completely before applying the next. Rushing through this step can lead to a patchy or inconsistent appearance. In most cases, two coats are sufficient for full coverage and a vibrant, professional-grade finish.
Use a brush for corners and edges where precision is needed, and a roller or sprayer for large, flat surfaces. Take your time and pay close attention to detail, ensuring every part of the siding is evenly painted. This step requires patience, but the results will be worth it—a flawless, long-lasting paint job that enhances your home’s curb appeal.
7. Final Touches
Once the paint has dried completely, it’s time to wrap things up. Carefully remove the painter’s tape, pulling it away at a 45-degree angle to avoid peeling the fresh paint. Gather the drop cloths and any other protective coverings you used, making sure to check for stray splatters or drips that might need cleaning. Inspect your work closely for any missed spots or areas that could use a quick touch-up.
If you find any imperfections, address them now for a seamless result. Finally, clean your tools thoroughly so they’re ready for future projects, and safely dispose of or store any leftover materials. Step back and admire your hard work—your freshly painted siding not only looks beautiful but also serves as a protective barrier against the elements, ensuring your home stays in great shape for years to come.
💡 Tips for Long-Lasting Results
To ensure your newly painted siding continues looking great for years to come, consider these expert tips:
Invest in Quality Supplies
Using high-quality paint and tools is essential for achieving professional new siding quality. Cheap materials may save money upfront, but they often lead to uneven finishes and frequent touch-ups. High-quality supplies not only ensure a smoother application but also improve the longevity of the paint, saving you time and effort in the long run.
Maintenance is Key
Keeping your vinyl siding clean is crucial for maintaining its appearance and durability. Over time, dirt and mildew can build up, leading to discoloration and damage. Regularly washing your siding with a gentle cleaner and a soft brush will help prevent these issues and keep your home looking fresh.
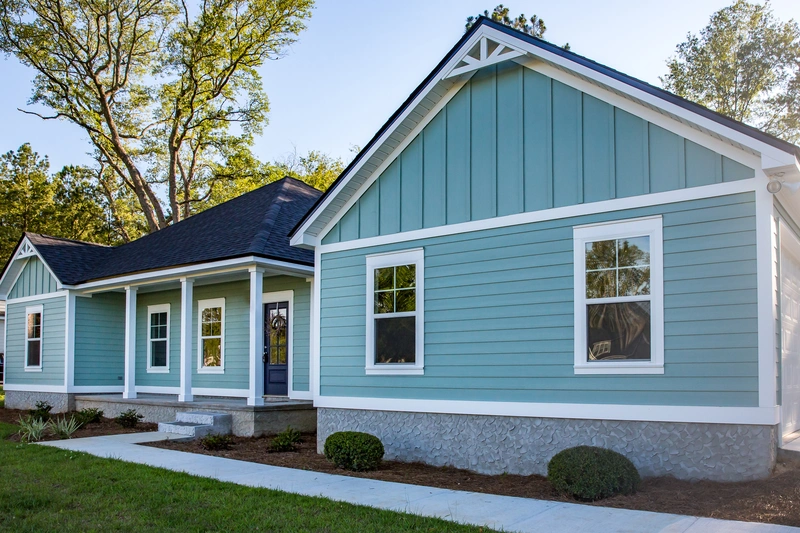
Stick to Lighter Colors
While dark colors can make a bold statement, they come with potential risks. Dark shades absorb more heat, which can cause vinyl siding to warp or deteriorate over time. Opting for lighter colors not only minimizes these risks but also helps reflect heat, keeping your home cooler and your siding in better condition.
Monitor for Future Repairs
Vinyl siding is designed to last for decades, but wear and tear are inevitable. Regularly inspect your siding for signs of damage, such as cracks, gaps, or loose panels. Addressing these issues promptly can prevent further damage and save you from costly repairs down the line. Proactive monitoring helps ensure your siding remains a sturdy and attractive part of your home for years to come.
How Much Does It Cost to Paint Vinyl Siding?
Painting usually ranges from $4,000 to $12,000 for an average home, depending on square footage, accessibility, and whether trim or shutters are included. That’s far less than the cost of full replacement, but keep in mind that larger or more detailed homes may fall outside this range.
Smart Ways to Save
-
Wash siding annually to prevent buildup and minimize prep costs later
-
Trim back shrubs and trees to prevent scratches and improve airflow
-
Inspect caulking and sealants regularly to keep water out and siding protected
-
Address small issues early before they turn into costly repairs
Choosing Colors: What Works Best
-
Lighter Colors: Safer for vinyl, since they reflect heat and reduce the chance of warping
-
Darker Colors: Can work too, but only with vinyl-safe paint designed to withstand higher heat absorption
-
Trends: Neutrals like gray and beige remain popular, while deep blues and earthy greens are increasingly in demand. The “best” color ultimately depends on your home’s style and setting.
Mistakes to Avoid
-
Painting without fully cleaning the siding first
-
Using low-quality paint not intended for vinyl
-
Choosing a dark color without vinyl-safe technology
-
Painting in very cold or very hot weather, which can cause adhesion issues
Is Painting Vinyl Siding Worth It?
For many homeowners, yes. Painting is a cost-effective, customizable, and eco-friendly way to refresh your home’s exterior. With the right prep and high-quality paint, the results can last for years and give your house a brand-new look. That said, if your siding is damaged or nearing the end of its life, replacement may be the better choice.
Rely on Your Local Roofing Experts for Advice & Quality Service
In conclusion, while painting vinyl siding can be a cost-effective way to refresh your home’s exterior, it isn’t always the right solution for every situation. That’s where our team at Maumee River Roofing comes in. With years of experience and a dedication to quality craftsmanship, we’re the trusted choice for all your siding needs—whether it’s expert advice, preparation, repairs, or full siding replacement.
We pride ourselves on delivering reliable results with a focus on customer satisfaction, all backed by our commitment to excellence (and Benny the Beaver’s seal of approval!). Ready to transform your home’s exterior? Contact us today to schedule your free consultation. Let’s get started!