

Most homeowners focus on the visible part of their siding, the color, texture, and style that gives their home its look. But what happens behind those panels matters just as much. A siding moisture barrier is the layer installed between your siding and your home’s structural sheathing, and it quietly does some of the most important work in your entire building envelope. Without it, water infiltration, mold, and rot can develop deep inside your walls before you ever see a sign of trouble. If you are considering new siding or evaluating your current exterior, learning what goes into a properly built wall system that keeps moisture out for the long term is a smart first step.
What you’ll learn:
- What a siding moisture barrier is and how it works within the wall assembly
- The different types of moisture barriers used in residential construction
- Why siding installation quality matters as much as material selection
- How moisture barriers interact with ventilation and drainage in the wall system
- What signs suggest your current barrier may be failing or missing
What a Moisture Barrier Actually Does for Your Home
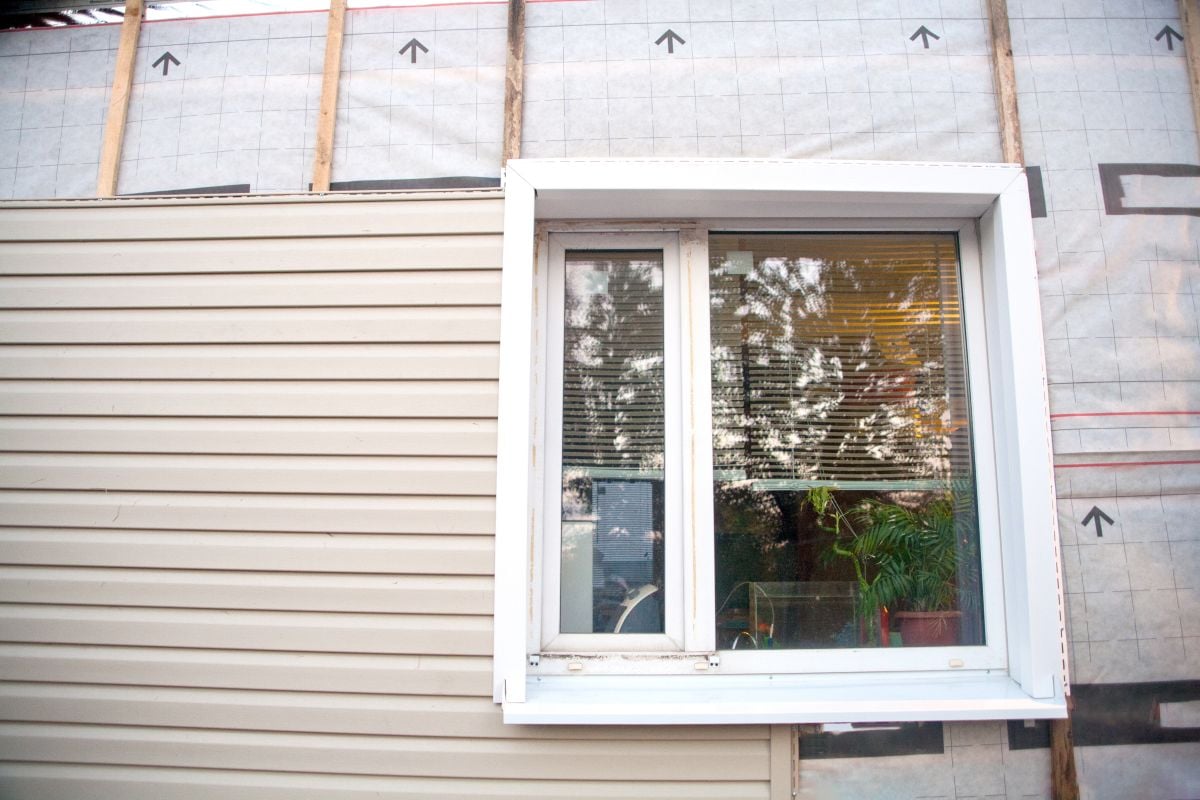
The name “moisture barrier” can be a little misleading. Most modern products do not simply block moisture from passing through. They are designed to manage moisture movement, allowing water vapor to escape from inside the wall while preventing bulk water from getting in from outside. This balance between resistance and breathability also separates a moisture barrier from a true vapor barrier, which blocks vapor transmission entirely. Controlling air intrusion is part of the equation too, since air moving through wall gaps carries significant amounts of moisture into the wall assembly.
Think of the moisture barrier as a secondary line of defense positioned directly behind your siding. When wind-driven rain gets behind the panels through gaps, seams, or failed caulking, the barrier catches that water and directs it downward and out of the wall rather than letting it soak into the sheathing and framing below. Homes in Columbia City, IN and surrounding areas experience a full range of precipitation and humidity across the seasons, making this drainage layer a practical necessity rather than an optional upgrade.
- Structural protection: Moisture reaching the wood sheathing and framing behind your siding causes rot, warping, and long-term structural damage. Wood siding is particularly prone to absorbing moisture, which drives up maintenance costs when a proper barrier is not in place. A well-installed barrier keeps bulk water and condensation away from these critical components.
- Mold prevention: Trapped moisture in wall cavities creates ideal conditions for mold. A barrier that allows vapor to escape while blocking liquid water reduces the risk of mold establishing itself inside your walls.
- Insulation performance: Wet insulation loses much of its thermal resistance. Keeping moisture out of the wall cavity preserves your insulation’s R-value and energy efficiency through every season.
- Siding longevity: Siding materials perform better and last longer when backed by a proper drainage plane. Moisture trapped against the back of exterior cladding accelerates deterioration regardless of what the siding is made from.
Protecting your home at the wall assembly level is one of the most cost-effective investments you can make, since moisture damage behind siding is almost always more expensive to repair than the barrier itself. Siding repairs can be tricky depending on the issue.
5 Types of Siding Moisture Barriers and How They Differ
Not all moisture barriers are the same, and understanding the differences helps you choose the right product for your home’s construction and climate. Here is a breakdown of the most common options used in residential siding installations.
1. Asphalt-Saturated Felt (Building Felt)
Felt paper, also known as building paper, is one of the oldest and most widely recognized moisture barrier materials. It is manufactured from recycled paper or fiberglass mat saturated with asphalt, giving it water-shedding properties and basic vapor resistance. It remains a cost-effective and code-compliant option and is still commonly used in Columbia City, IN and surrounding areas.
- Available in 15-lb and 30-lb weights, with 30-lb providing better durability and water resistance
- Prone to tearing during installation if not handled carefully, which can compromise performance
- Absorbs and releases moisture over time, which provides some vapor management in mixed climates
2. Housewrap (Synthetic Wrap)
Housewrap is the most commonly installed moisture barrier in new residential construction today. Made from woven or nonwoven polypropylene or polyethylene, it resists liquid water while allowing water vapor to pass through, making it a breathable barrier that manages both bulk water and humidity. Drainable housewrap products go further by incorporating a textured or channeled surface that creates a small air gap between the wrap and the back of the siding, allowing trapped moisture to drain and escape rather than sitting against the cladding.
- Brands like Tyvek and ZIP System are among the most recognized in residential construction
- Drainable housewrap is recommended for vinyl siding in coastal areas and for any cladding where moisture accumulation is a concern
- Requires proper lapping, taping at seams, and careful flashing integration to perform as intended
3. Rigid Foam Insulation with Moisture Barrier Properties
Rigid foam insulation boards, particularly XPS and polyisocyanurate panels, serve double duty in some wall assemblies. Installed continuously over the sheathing before siding is applied, they act as both a thermal break and a drainage plane. Some products come with a foil facing that provides integrated moisture management alongside the insulation.
- Adds R-value to the wall assembly alongside moisture management
- Seams and penetrations must be carefully taped to maintain barrier continuity
- Works well in high-performance envelopes where both thermal and moisture control are priorities
4. ZIP System Sheathing
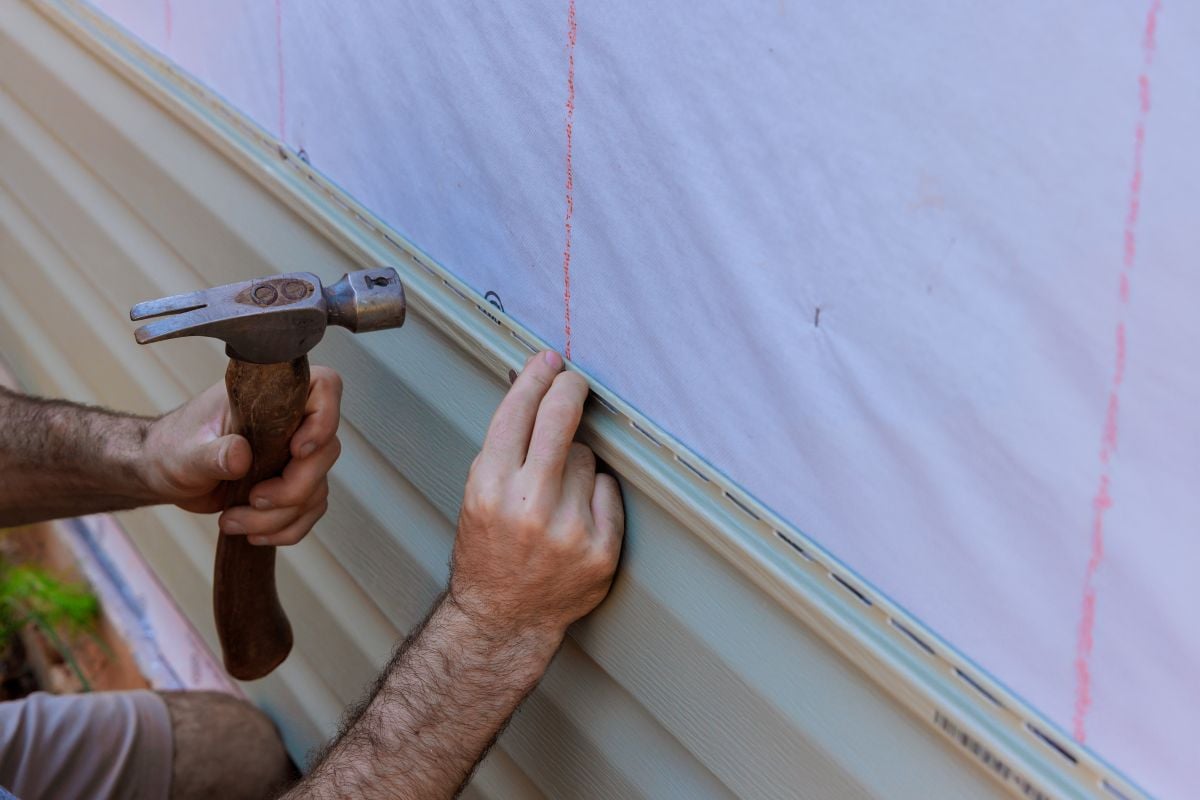
ZIP System is a structural sheathing panel with a built-in moisture and air barrier bonded directly to the panel face. Rather than adding a separate housewrap layer over traditional plywood or OSB sheathing, ZIP System combines structural and moisture management functions into one product. Seams are taped with compatible ZIP tape to complete the barrier.
- Eliminates the separate housewrap step, reducing installation time and error potential
- Tape at seams is critical; improperly taped joints are among the most common failure points
- Gaining popularity in new construction where tight building envelopes are a priority
5. Fluid-Applied Barriers
Fluid-applied moisture barriers are spray- or roller-applied liquid membranes that cure to form a seamless, flexible barrier over the sheathing surface. Unlike sheet products that must be lapped and taped, they coat the entire surface continuously, eliminating the seams where water intrusion most commonly occurs. They are particularly effective around complex penetrations, corners, and window and door rough openings.
- Especially useful at transition zones where sheet products are difficult to install correctly
- Compatible with most siding types and common in high-performance construction
- Requires controlled application conditions; temperature and surface preparation affect adhesion
Each of these products has a place in residential construction, and the right choice depends on the siding material, climate, and overall performance goals for the home. A qualified siding contractor with experience will help you select the product best suited to your project.
How Installation Quality Determines Whether the Barrier Actually Works
Selecting the right moisture barrier product is only half the battle. The most important factor in whether a barrier performs is how it is installed. Proper lapping, integration with flashing, and careful handling at penetrations all determine whether the barrier functions as a continuous system or develops gaps that allow water intrusion.
Lapping and Directionality
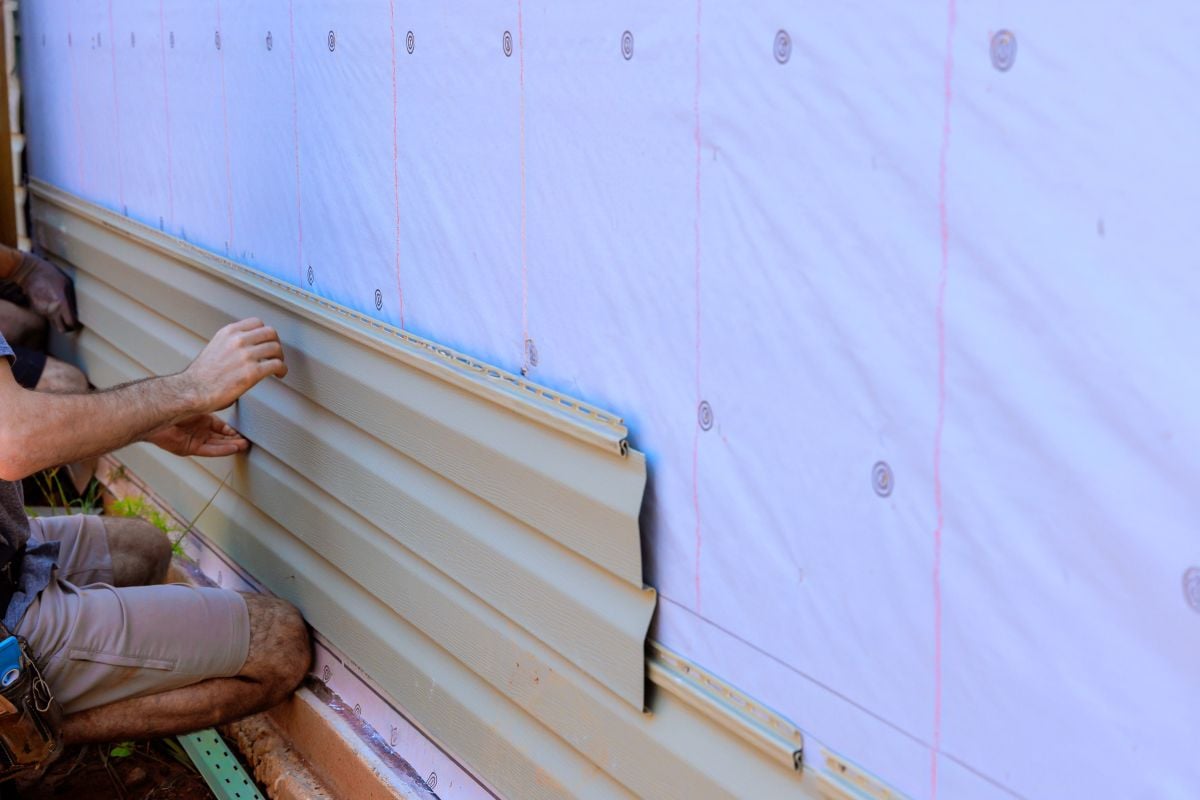
Sheet moisture barriers like felt and housewrap must be installed from the bottom of the wall upward, with each subsequent row overlapping the one below by a minimum of six inches. This shingling pattern ensures water running down the face of the barrier sheds over the top of the seam rather than into it. Reversing this order, even accidentally in a small section, creates a pathway for water to run behind the laps and into the wall.
Flashing Integration at Windows and Doors
The most common location for moisture intrusion behind siding is at window and door openings, where the barrier must transition around a penetration in the wall. Proper integration requires pan flashing at the sill, barrier lapped over the flashing at the sides, and head flashing above the opening overlapped by the barrier row above. Skipping any step leaves a gap that water will find, often with consequences that do not become visible until months or years later.
Seam Taping and Fastener Holes
Every fastener penetrating the moisture barrier creates a potential water entry point. Fasteners used to attach housewrap should be corrosion-resistant and spaced per manufacturer recommendations to prevent pull-through. Both vertical and horizontal joints in sheet barriers must be overlapped in the correct direction to prevent water from migrating into the seam, and all joints in ZIP System panels require tape to maintain continuity across the wall surface.
Good installation of the moisture barrier is one area where cutting corners leads to problems that are both invisible and expensive. Siding contractors working in Columbia City, IN, and surrounding areas who take this step seriously will detail every window, door, and penetration before any siding goes on the wall.
Signs That Your Current Moisture Barrier May Be Failing
Many homeowners do not think about their moisture barrier until a problem has already developed. Knowing the warning signs helps you act before damage becomes extensive. It is also worth understanding that different exterior cladding materials carry specific moisture requirements. Fiber cement siding typically requires at least a 1mm gap behind the panel to allow moisture to escape. Composite and masonry cladding often need a full rainscreen assembly, which uses furring strips to create a drainage and air circulation cavity between the barrier and the cladding. Wood siding and PVC-backed products also benefit from a rainscreen, since keeping the back of the cladding dry significantly extends service life.
| Warning Sign | Where It Appears | What It May Indicate |
| Peeling interior paint near exterior walls | Interior walls and trim | Moisture migrating through wall from outside |
| Soft or spongy wall sheathing | Behind siding panels | Long-term water saturation of structural materials |
| Mold or musty odor near exterior walls | Interior rooms | Moisture trapped in wall cavity |
| Staining or discoloration on siding back face | Visible when siding is removed | Water pooling behind siding without drainage |
| Elevated utility bills without clear cause | Entire home | Compromised insulation from moisture infiltration |
| Visible gaps or tears in wrap during re-siding | Wall surface | Barrier that was improperly installed or damaged |
Any of these signs in a home in Columbia City, IN and surrounding areas warrants a closer look at the wall assembly before simply replacing the surface siding. Addressing a failed moisture barrier at the same time as a siding replacement is almost always more practical and less expensive than treating them as separate projects.
Trust the Hidden Work to Maumee River Roofing
A siding moisture barrier does not get any attention when it is working. It quietly manages water, protects your framing, and preserves your insulation without ever being seen from the street. But when it fails, the consequences show up everywhere, from interior mold to rotted sheathing to higher energy bills. Getting it right requires both the correct product and the installation discipline to detail every seam, flashing, and penetration without shortcuts. Maumee River Roofing brings that level of care to every siding project, helping homeowners across Indiana protect their homes where it matters most. If you are planning a siding project or concerned about what might be happening behind your current cladding, contact us today and let our team take a look.